
Hey there!!! Happy Easter to all my Polished Peeps! He is Risen! What a wonderful day it is today. As a Christian, today is the most important day for us. If it weren't for Easter Sunday and the sacrifice that our Lord made, then, well, I shudder to think what the world would be like.
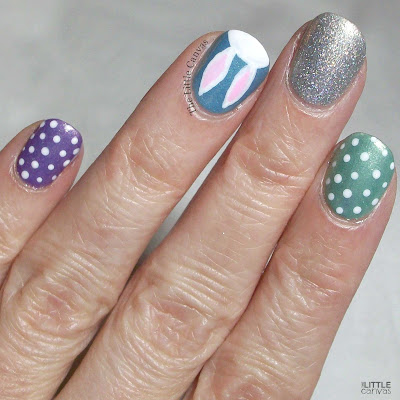
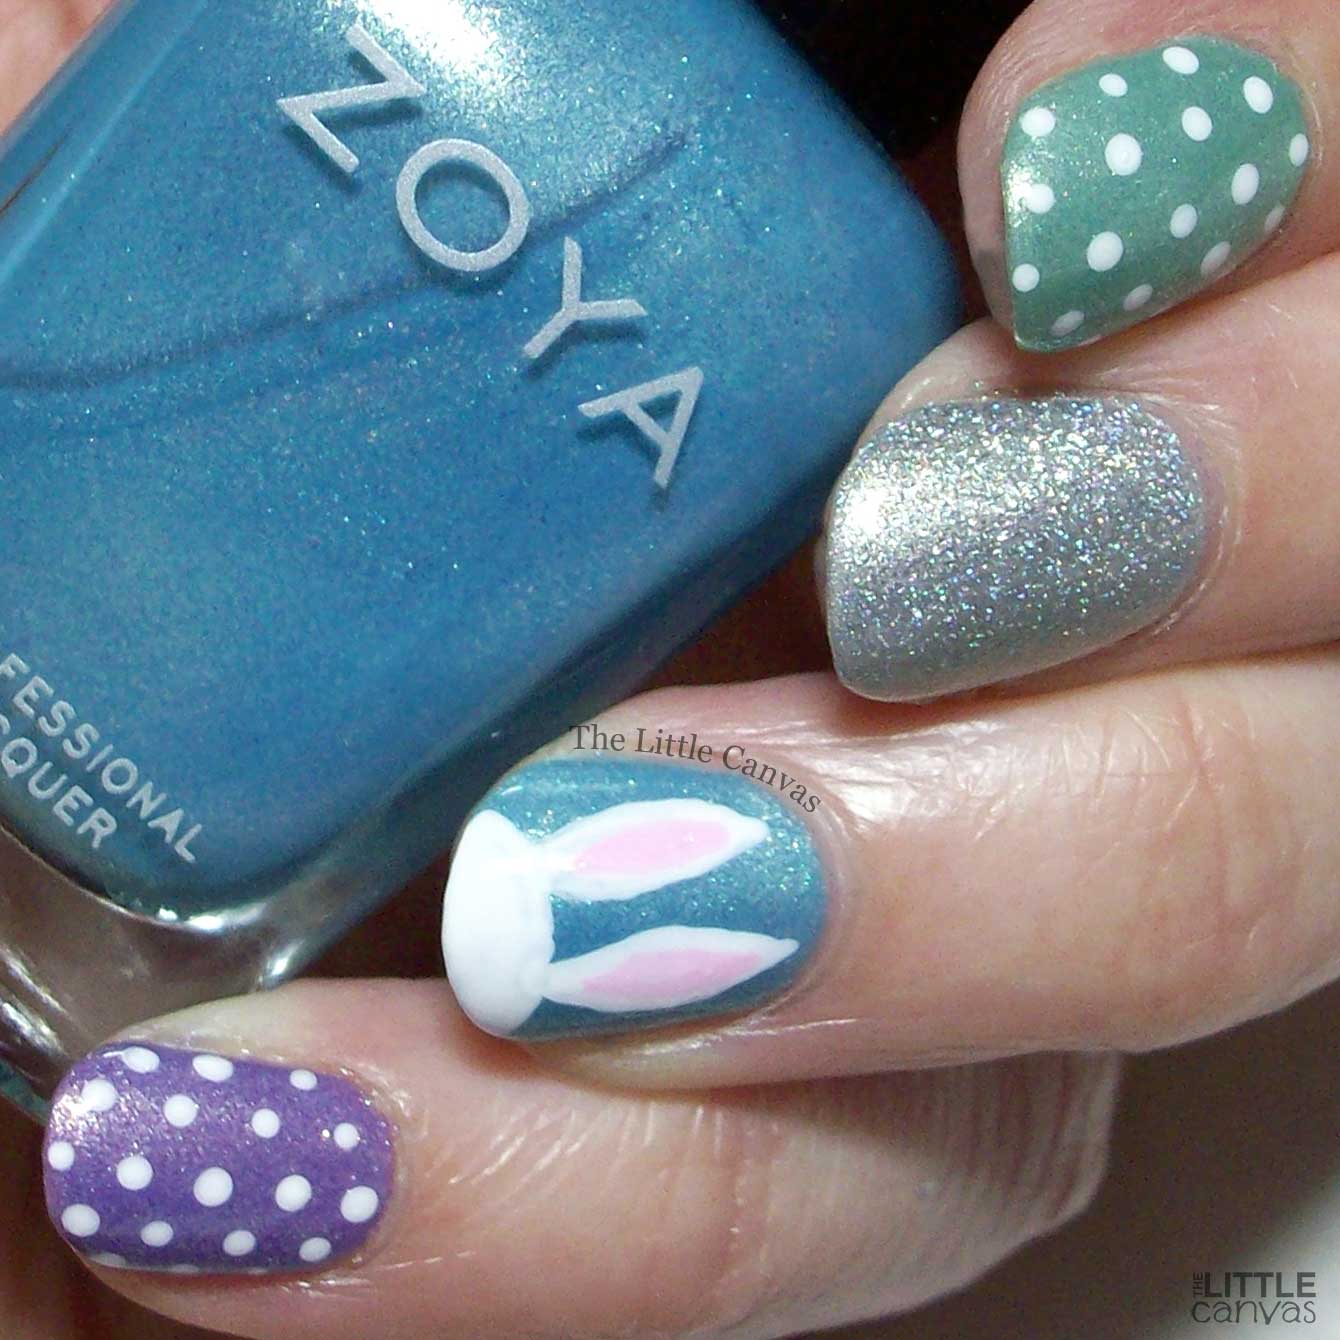
Now while today isn't all about the bunny, I did paint little bunnies on my nails. There are things I do for my residents at work, and doing cutesie nails like these is one of those things. I went into this Easter season with good intentions of painting my nails with a plethora of designs, including one with Calvary hill, but alas, I got sick and I've yet to recover from that. I'm just grateful I was able to get the two designs that I did!
Let's take a look!

Who wants to teach me how to take proper photos of my nails when I'm wearing pastel polishes? They always look blown out or just too dark. They're never what my nails actually look like. I probably should have used a black back drop, but eh I'll never learn. I sat for awhile trying to color correct them but gave up. It is what it is, right?

Despite the fact that I can't properly photograph pastels, you can still see how cute this manicure was. A nice little skittle using some of polishes from the Zoya Awaken collection that is literally 6 years old now. Even though the polishes are old, they still apply like a dream. By far some of my favorite pastels that I own. Only complaint, they're kind of a pain to remove!
What do you think? Fan of this design?
I hope everyone has a wonderful Easter!
See you soon! :)


