Back to School

Back to School Nail Art + Tutorial!

9:00:00 AM

Hello polished world!  I'm in a great mood today because I feel like my manicure is stinking adorable.  It turned out exactly as I planned, and well when that happens, it's a great feeling.  Where I live, Labor Day weekend marks the end of summer for all of those who go to school.  Typically the Tuesday or Wednesday after Labor Day is the first day back to school.  Since I obtained my Masters Degree in May, this is the first year since, well, preschool that I'm not returning to school.  Most people would be jumping for joy over this, but for me, it's rather weird.  It's been my routine for as long as I can remember, and now this year I have to find a new routine.

Despite not returning to school, I couldn't turn down the opportunity to paint my nails with a cute back to school manicure.  I may or may not have another one planned as well.  It's kind of like Thanksgiving, you can't not do a Thanksgiving Day manicure.  Last year for my back to school manicure, I did these pencils which I received so many compliments on.  I knew for this years manicure I wanted to re-create them to see how far I have come.

I feel like I have come a long way as a nail artist and as a blogger here at The Little Canvas, so I wanted to not copy my manicure 100%.  I needed to change it up a little bit.  Then it hit me, what do you write on when using a pencil.  That's right, PAPER!  I have seen "doodle" nails all over the internet where girls make their nails look like lined paper then with a black polish draw little designs on them like I used to do on real paper when I was bored in class.  I thought, wouldn't it be cute to paint doodle nails with an accent of a pencil?!

Despite having that brilliant idea, after having the plain lined paper nails, I decided against having the doodles.  I thought the manicure looked so clean, fresh, and crisp, kind of like those brand new school supplies all us eager kiddies used to run into school with on the first day.

Enough of my babbling, let's take a look and I'll tell you how I created this cute little design :).
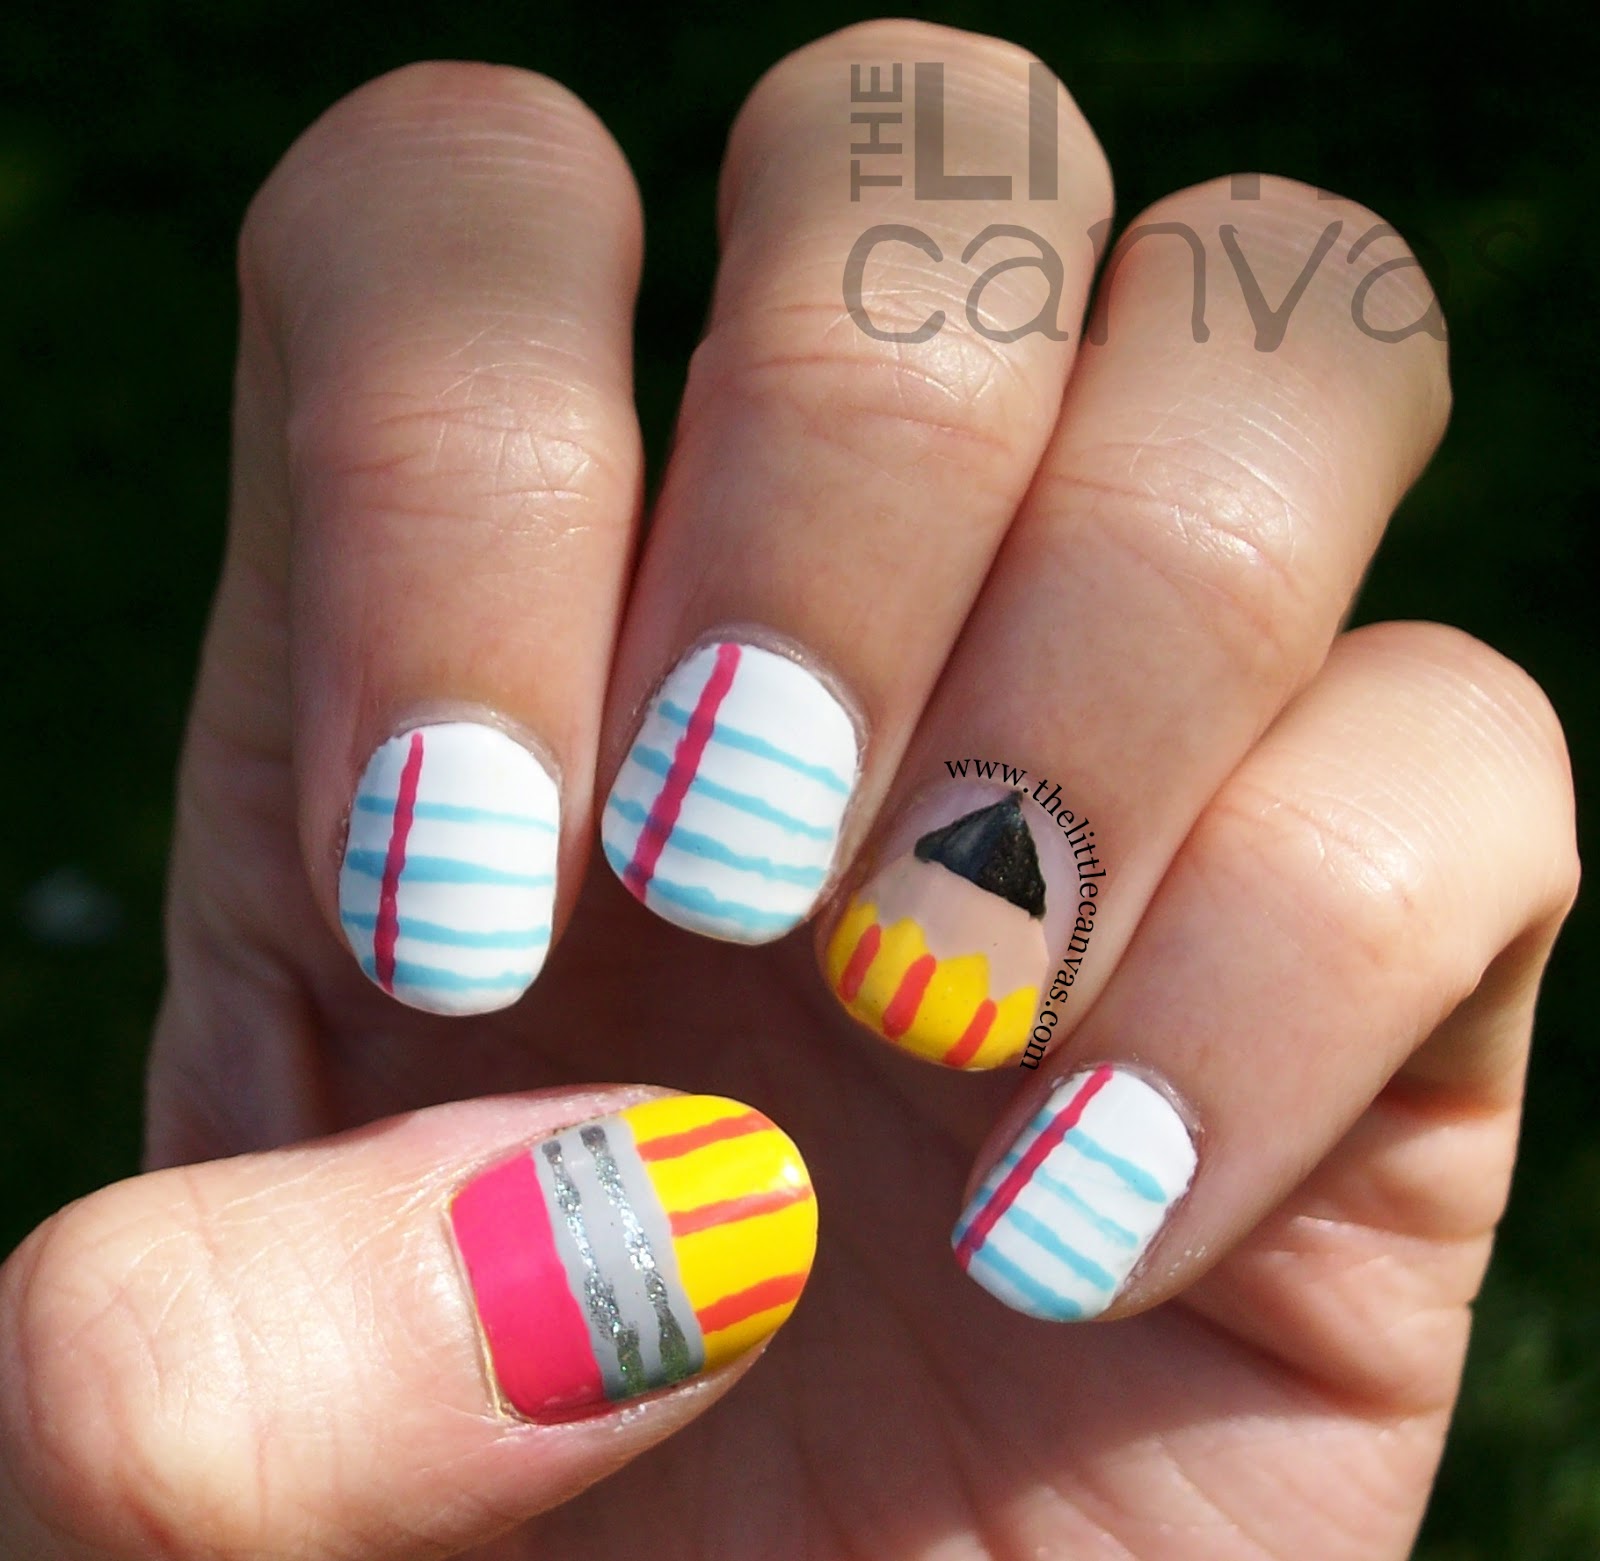
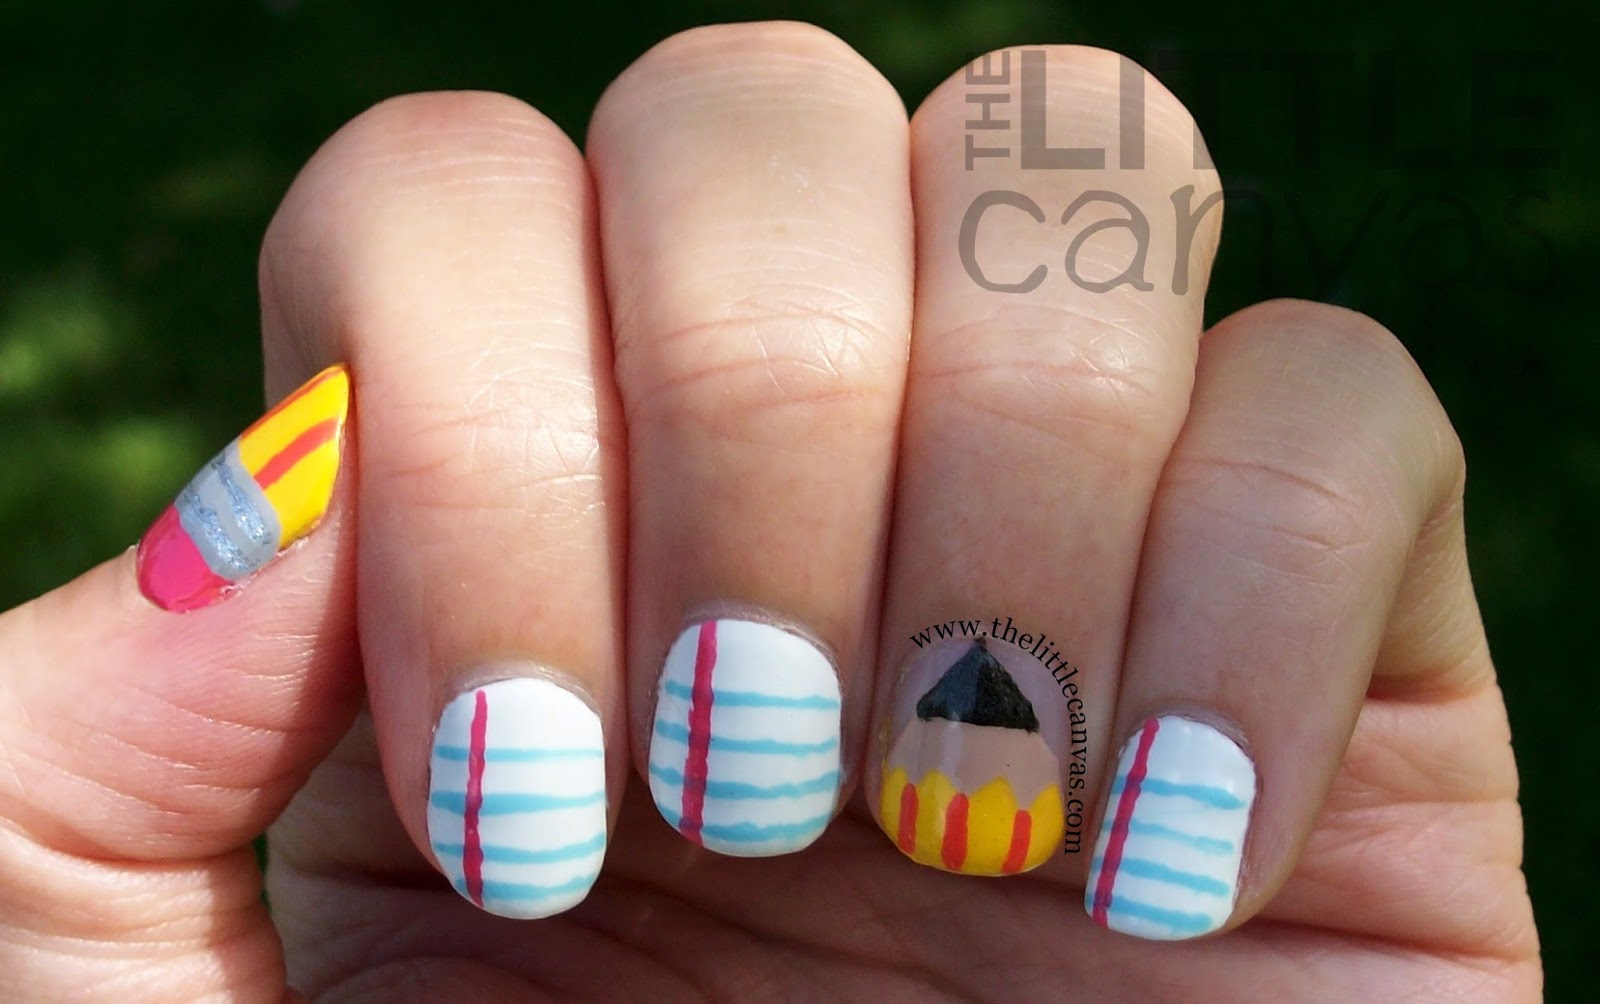
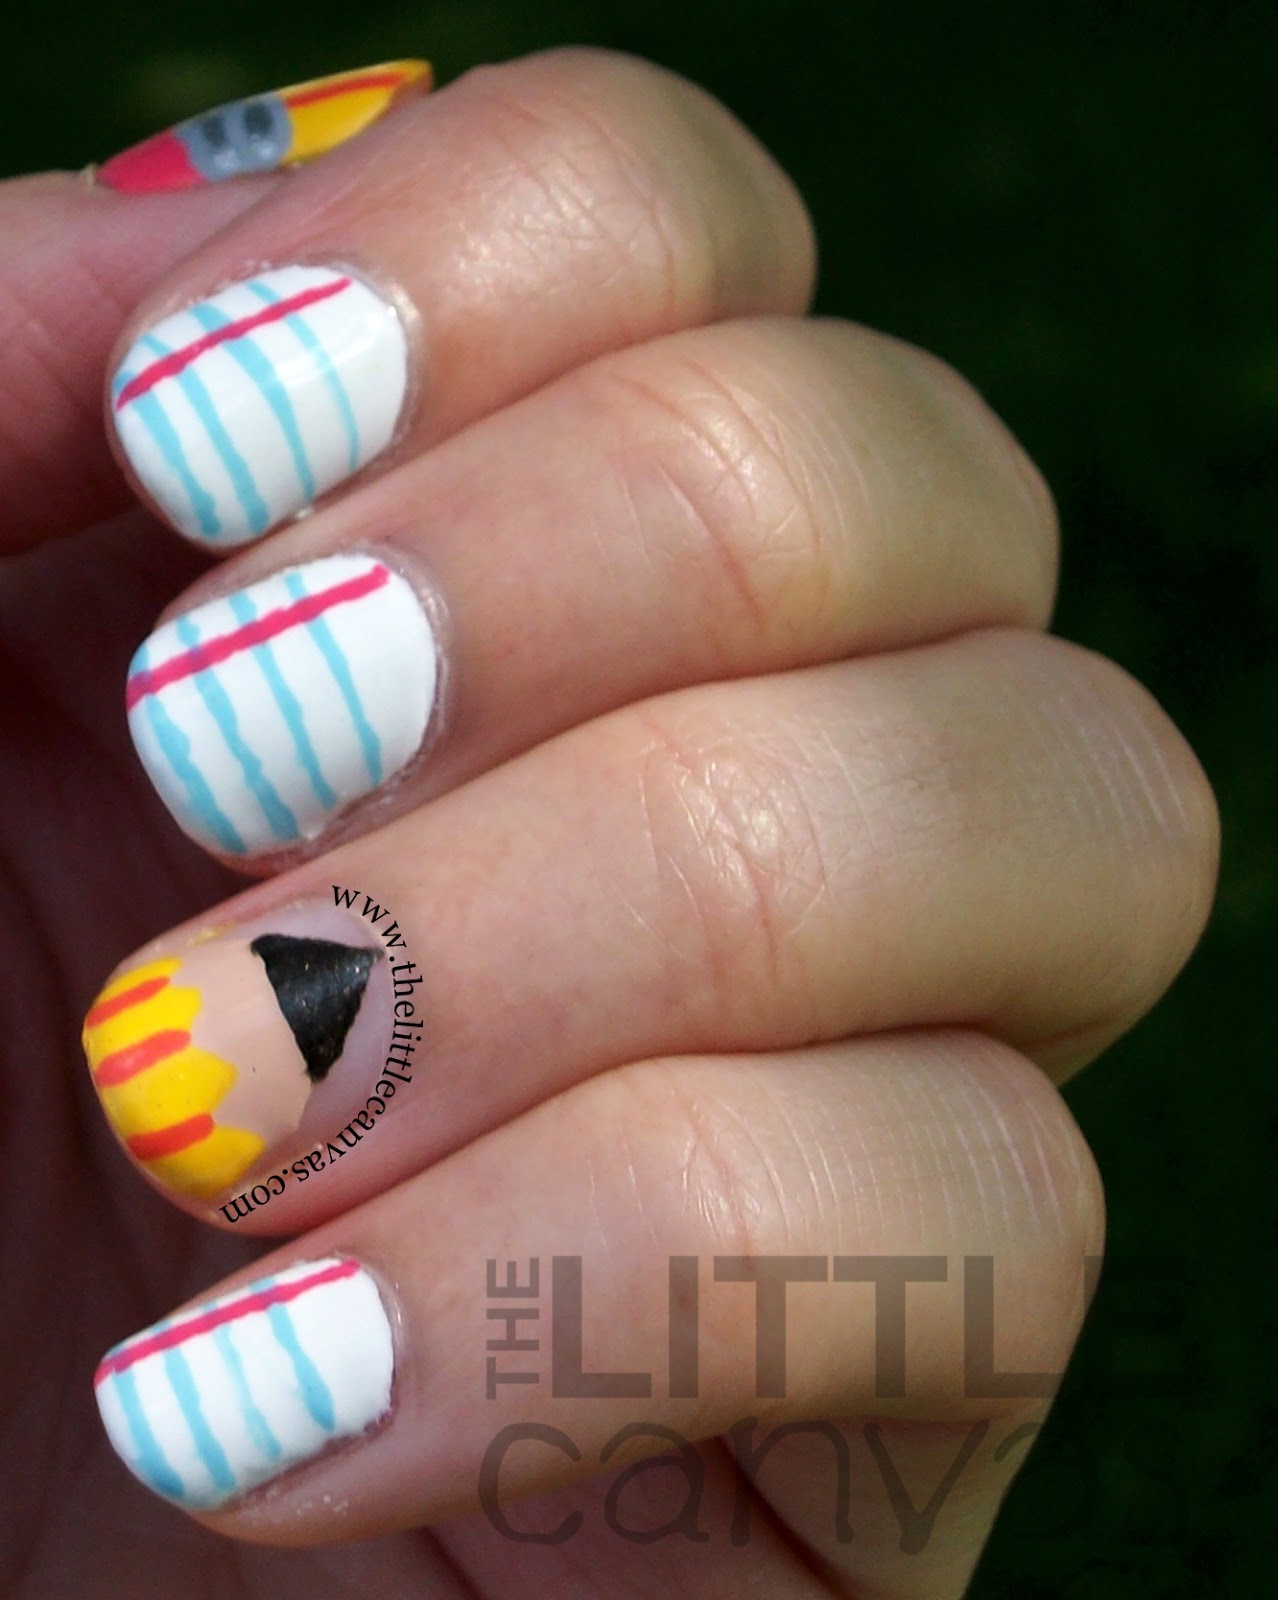

Colors Used
  • Pencils
    • Zoya - Darcy (pencil yellow)
    • Zoya - Thandie (orange lines)
    • Zoya - Micky (eraser)
    • Zoya - Avery (wood)
    • Zoya - Claudine (granite tip)
    • Sinful Colors - Cool Grey and Sally Hansen - Celeb City (metal around eraser)
  • Paper
    • OPI - My Boyfriend Scales Walls
    • Sally Hansen - Blue Away
    • Zoya - Micky
How I Got the Look (Yes, I did a tutorial again!)


Pencil Tip

  1. On your naked nail, take some painters tape (or scotch tape) and create a point on your nail.
  2. Paint on a base coat, and your favorite tan/pencil wood color polish.  For my manicure, I used Zoya Avery.
  3. Remove the tape!  If you need to make the lines crisper you can always go over them with a nail art brush
  4. With a nail art brush or small dotting tool, add the graphite of the pencil.
  5. With a nail art brush, draw a little chevron design halfway down the pencil wood.  Fill in the rest of the nail with a yellow polish.  For this manicure, I used Zoya Darcy.
  6. Add some orange lines down the pencil.
Pencil Eraser
  1. Paint your nail a pencil yellow color.
  2. Add orange lines half way down the nail.
  3. On the cuticle end or tip of the nail (depending if you want a whole eraser manicure or if you want a manicure like mine) paint on an eraser pink polish.  For this manicure, I used Zoya Micky.
  4. With a gray polish, fill in the empty area to resemble the metal that holds the eraser onto the pencil.
  5. With a darker gray, or a metallic silver polish, draw on two lines on the gray area.
Lined Paper
  1. Paint your nails white.
  2. With a light blue polish, paint four lines across your nail.
  3. With a pink (or red) polish, paint a line down the nail.
Finish all the nails with a top coat, and you have yourself a fancy little back to school manicure!!!!  An alternate way of doing this manicure is by just doing pencils on your nails like I did last year, or just all paper.  It's up to you!  You can even try the little doodles I was going to do!!

If you try this manicure, please oh please tag me and the photo #thelittlecanvas so I can see!  I love seeing re-creations! :)

Well, I am off, this post has turned out to be extremely long winded.  It's been awhile though since I've done something like this though, so it's kind of nice!

Next post will be September's Nail Artist of the Month!  I hope you enjoy!  I may also switch up my posting schedule too, not sure yet, so stay tuned.

Until next time, <3.

**The Zoyas were provided by Zoya for review.  All other polishes, I purchased.  Please see my disclosure policy**


Birthday

Belated Birthday Nails!

9:00:00 AM

Good morning!!!  How are you all today?  I'm bringing you a post which I meant to bring you back in the beginning of August for my birthday!  I truly meant to share the manicure, but I got kind of lazy and didn't feel like editing the photos.  Finally though, I got around to it, and ignored my zillions of other posts share today!

Last year for my birthday, I did a simple manicure with cupcake accents.  Looking back at the pictures from last year, goodness gracious I had some messy cuticles!  Kind of happy I learned to not flood them!  This year, I decided to do the same manicure, but with a different color scheme.  I recently purchase OPI Polka.com and was dying to use it, so this was the perfect opportunity!

Let's take a look!


Colors Used:

  • Base
    • Sinful Colors - Sail La Vie
    • INM Northern Lights
    • OPI - Polka.com
  • Cupcake
    • Sinful Colors - Amythyst
    • Ulta - Snow White
    • OPI - You're Such a Budapest, Can't Find my Czechbook, Suzi's Hungary Again
    • Some red polish that is escaping me
Isn't Sinful Colors Sail La Vie gorgeous?  It's seriously one of my favorite polishes.  After I painted on a base (which was a flawless two coats), I added INM Northern Lights and kind of wanted to leave it at that.  I know, shocking since I NEVER keep my nails one color.

After debating that indeed I needed to do something special for my birthday, I added OPI Polka.com to my non accent nails.  I fell in love with that as well, and started debating on whether I should actually do cupcakes. Really, would anyone be offended if I skipped nail art for my day?

The answer was yes, that I myself would be offended.  Since I did pink cupcakes last year, I decided to opt for purple cupcakes which matched the glitter.  To get the cupcake, I took my dark purple polish and painted half my nail.  When it was dry, I added the lighter purple lines like a cupcake wrapper.  With a dotting tool, I added the white cupcake frosting.  With a nail art brush, I added the colorful sprinkles, then at the very end dotted on the red cherry!

What do you think?  Love, hate?  Think it's a good birthday design?

Until next time, <3!

**I purchased all the polishes used in this post**

Nail Art Society

Blue Tribal-Ish Nails and Nail Art Society Re-Launch

9:00:00 AM

Alright, polished peeps, finally the post I said I would do days ago!  As I mentioned, I am now a Guru for the Nail Art Society.  It is such an honor to be considered a guru in this blogging community.  I never, in a million years, thought my blog would reach as many people as it has, nor did I ever consider that people would look at me as a guru.  It still hasn't fully sunk in, but I am truly thankful for this experience.

For those of you who do not know, the Nail Art Society provides monthly nail art kits to it's subscribers for $9.95 (plus shipping) a month.  For those of you who do know what NAS is and used to be a subscriber, you are aware that the business stopped sending kits for a little bit, but now they are back and better than ever with their new re-launch!

In the re-launched kit, subscribers will receive four Orly Instant Artist Water Based polishes, along with 2 packs of Cala Water Decals.  I have yet to use the water decals because my nubbins couldn't fit them on, but I will be in the near future.  For now though, I have used, and fallen in love with the the Orly Instant Artist Water Based Polishes.

For my manicure today, I decided to go a little tribal.  Originally, I wasn't planning on doing this, but as I got to working with the brushes, I continued adding and it ended up looking that way.  I kind of got lazy and decided to not apply this design on all the nails, and well I love how it turned out.  The only nails that have the Orly Instant Artists on them are the thumb and ring finger, the colors used are listed below.


Colors Used:
  • Sinful Colors - Endless Blue
  • Sally Hansen Celeb City
  • Orly Instant Artist
    • Jet Black
    • Crisp White
    • Hot Blue
    • Platinum
The look was rather easy.  I used Orly Instant Artist in Crisp White to cover both my ring and thumb.  When that was dry, with Jet Blue, I created two lines down the nail and filled in the edges.  I then took Jet Black and created the random little design down the middle.  I wanted to incorporate Platinum, therefore I added the silver lines next to the black.  To get the white dots, I dripped a little Crisp White on a plate and used my smallest dotting tool.


Look, I did bottle shots!  Can you believe it!  I never have done this, but I thought why not for this manicure?  I wanted to show how similar the Orly's were to the blue and silver plain nails.  I didn't want use other polishes with the Orly's, but when I saw Sinful Colors Endless Blue was a dead on dupe of Hot Blue, I knew I could get away with paring them.  You can kind of see that the Orly looks a little different on the ring finger when next to the pinkie.  The silvers were a tad different too.  My middle finger has Celeb City which as more of a metallic finish than the Orly Platinum.


I am not a huge fan of striper polishes, but these Orly's are amazing.  The water based polish is similar to that of an acrylic paint, therefore you can easily fix mistakes if needed without using nail polish remover and destroying your whole manicure.  The striper is long, but not too long that it's awkward to work with.  The polish itself is perfect also.  When it applies to the nail, it's rather opaque so you don't have to trace the same line over and over again to get it stand out.

I really love the blue polish and how vibrant it was.  I'm a sucker for blue polishes, so I can see myself using that one a lot.  The black and white one I can see myself using a lot.  As a nail artist, these are two polishes that I'm constantly running out of.  I am in love with Orly Liquid Vinyl, so it is no surprise to me that Orly hit it out of the park with Jet Black.  I'm not sure when I will use the silver striper again, but since it had such a great formula, I will try to fit it into other manicures, especially around Christmas time.

What do you think?  Ever used an Orly Instant Artist Polish?

I think this is such a great kit that NAS has created this month, and will certainly make a nail artist out of anyone.  I love how easy these stripers were to use.  I especially loved that you can "erase" your mistakes, which if you have ever done nail art know is something that happens.  There have been plenty of times I made mistakes using polishes to create a design, and I have to take off the whole nail (or sometimes the whole manicure), and start all over.  It's beyond frustrating, and I believe that's probably why people give up on nail art so quickly.  Given a tool, such as this one, can create a pro out of anyone and makes nail art simple!  I think it is brilliant that NAS picked these polishes for their relaunch kit!

If you want to grab a kit, head on over to the Nail Art Society and subscribe!!

Whew, see why I wanted to postpone this post until I was more awake?  I shall stop babbling!

Until next time, <3.

**Orly Instant Artists were provided to me by the Nail Art Society.  Please see my disclosure policy**

Dot Mani

Zoya Pixie Dust Dotticure

9:00:00 AM

Good morning, polished world!  How are you today?   I'm a tired girl, therefor this post is most likely not going to be a rambling one.  Also this post is not the one I was planning.  The plan was to bring you a post I did using all the new Orly Instant Artist polishes that the Nail Art Society sent me, but as I write this post, it is 12:45am.  I want to be 100% awake when writing up that post because it has more photos than normal, and I want to talk about a few different things.  So next post, I promise!  Stay tuned for that!

No worries though, I'm bringing you a pretty manicure today!  I really enjoyed it and was so happy with how my zillions of dots turned out!  Typically when I do a dotticure, I do the dots on an accent nail instead of all 10.  Not really sure my reasoning behind this, but it's just something I've always done.  After seeing this manicure by Fashion Polish, I wanted to attempt it and see if I could possibly, just possibly, do a successful 10 nailed dotticure.  

Sadly, I do not own the gorgeous Picture Polishes' featured in Fashion Polish's post, so I opted for using some pretty Zoya Pixie Dusts.  The end result turned out rather fabulous.  Let's take a look....


Colors Used:

  • OPI - My Boyfriend Scales Walls
  • Zoya - Arabella, Destiny, and Beatrix
I started off with a base coat of OPI - My Boyfriend Scales Walls.  I feel I must repeat myself hear and say that this polish is my favorite white polish.  It's white, but not so white that it takes away from the manicure.  I think that if I never said what the base was, no one would know that this isn't a true white polish.

When that was dry, I followed Fashion Polish's tutorial which is part of the original post above.  I began dotting the darkest color first, which is Arabella.  Arabella is a Pixie from the new Fall Pixie Dust polish collection.  It's a rather gorgeous shade.  I then did the same thing using Destiny and Beatrix, both polishes from the Summer Pixie Dust collection.  When my "main" dots were on, I went back through and filled in the empty spaces with smaller dots.  I added a top coat because I wanted the Pixies to pop, and boy did they.  This was one sparkly manicure!  I loved it!

What do you think?  Have you used the Pixies for dots or nail art yet?  I'm hooked.

Well dear readers, I am off.  Until next time, <3.

**The Zoya Pixie Dusts were provided by Zoya for promotional purposes.  I purchased MBSW.  All opinions expressed are my own.  Please see my disclosure policy**